
Discover How to Streamline Your Workflow with Automating Email Notification
Imagine this: It’s Monday morning, and you have a pile of tasks waiting for you. As you sift through your emails, you realize that you missed an important update on a project last week because you didn’t receive the notification in time. Frustrated, you wonder if there’s a way to ensure you never miss crucial updates again. can I Automating email notification?
Enter Power Automate, a game-changer in the world of workflow automation. Imagine having a personal assistant that tirelessly monitors your SharePoint lists, sending you instant email notifications whenever a new item is added. No more missed updates, no more manual checks—just seamless, automated efficiency.
Now, picture yourself setting up this powerful tool with ease, even if you’re a complete beginner. Our step-by-step guide on automating email notifications with Power Automate will take you from novice to automation hero. Whether you’re managing a team, keeping track of projects, or just trying to stay organized, this guide will show you how to harness the power of automation to simplify your life.
In this blog post, you’ll learn:
- How to set up your environment and navigate Power Automate.
- The steps to create your first flow, complete with choosing triggers and defining actions.
- How to configure your flow to send personalized email notifications.
- Tips for testing, activating, and troubleshooting your flow to ensure everything runs smoothly.
Welcome to our step-by-step guide on automating email notifications using Power Automate! If you’re new to Power Automate, this guide will walk you through the process of setting up a basic email notification flow. By the end of this post, you’ll know how to create an automated flow that sends email notifications when new items are added to a SharePoint list.
What is Power Automate? Your Go-To Tool for Workflow Automation
Power Automate is a cloud-based service that allows you to create automated workflows between your favorite apps and services. This can help you save time on repetitive tasks and improve your overall productivity.

Why Automate Email Notifications? Stay Informed Without Lifting a Finger
Automating email notifications can be incredibly beneficial in various scenarios. Whether you want to stay updated when new tasks are added to a project list or receive alerts for new entries in a contact form, automated email notifications ensure you never miss important updates.
Getting Started with Power Automate
Setting Up Your Environment: Essential Tools and Access Requirements
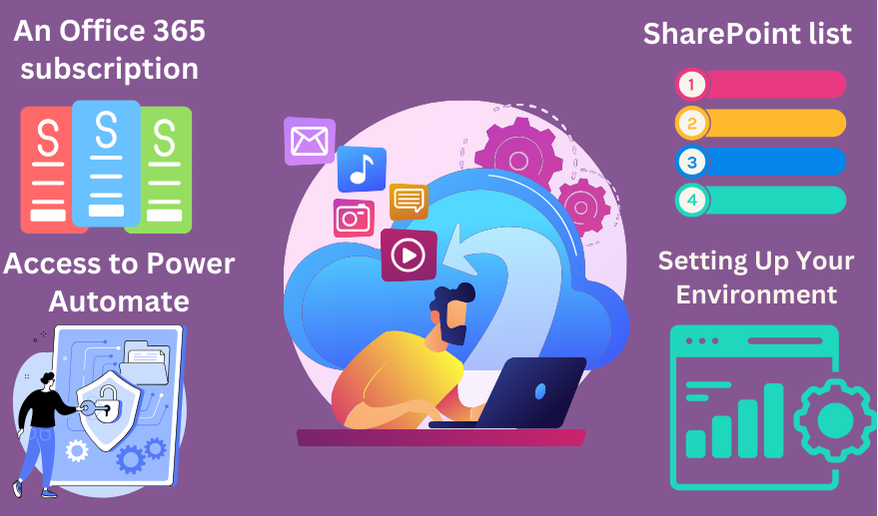
Before you start, ensure you have the following:
- An Office 365 subscription.
- Access to Power Automate.
- A SharePoint list where the items will be created.
Navigating Power Automate: Getting Comfortable with the Dashboard
Power Automate’s interface is user-friendly, but if you’re new, it might seem overwhelming. Take a few minutes to explore the dashboard and familiarize yourself with the layout.
Creating Your First Flow
Step 1: Choose a Trigger: The Event That Starts Your Flow
Triggers are events that start your flow. In this guide, we’ll use the “When an item is created” trigger from SharePoint.
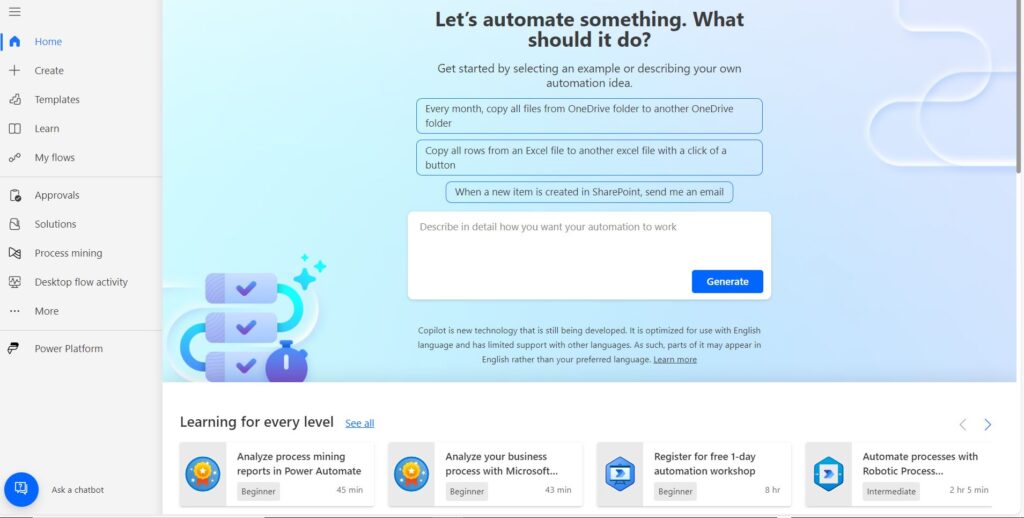
1. Go to Power Automate and click on “Create”

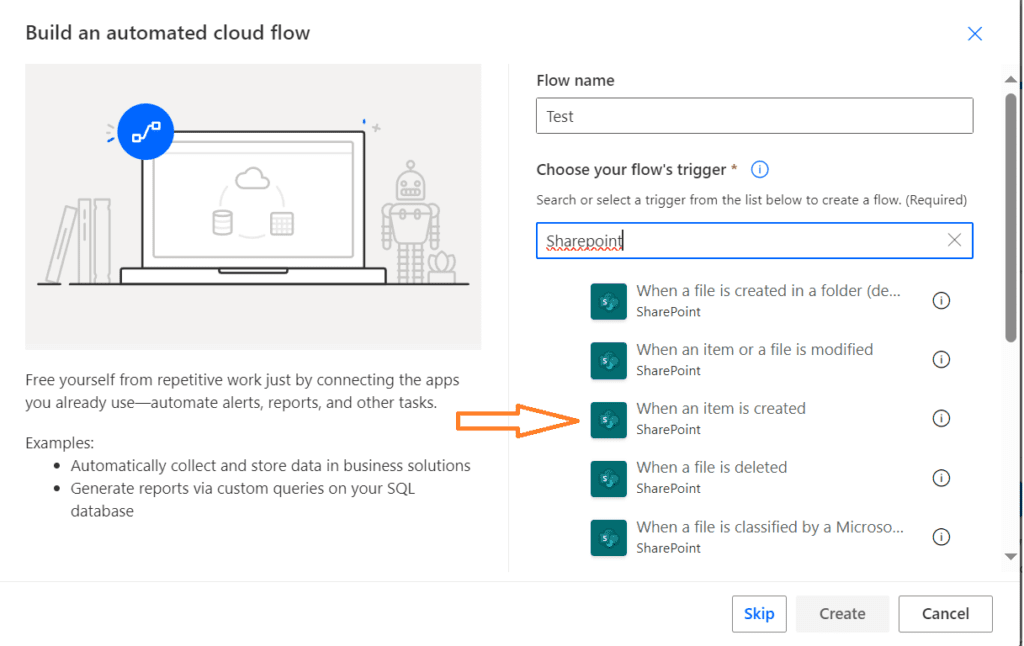
2. Select “Automated cloud flow”.

3. Name your flow and search for “SharePoint”
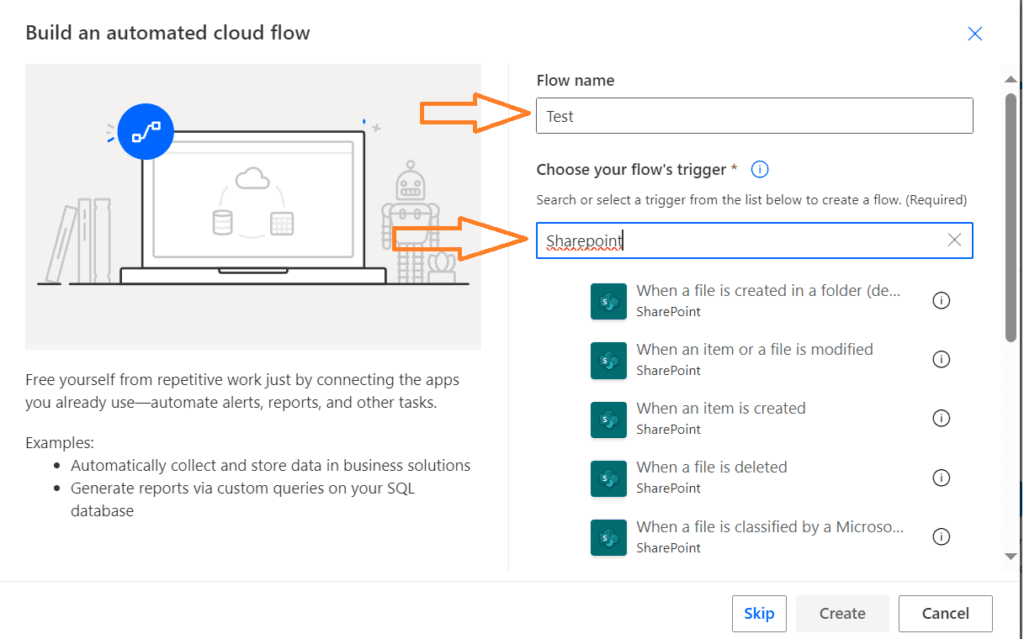
4. Select the “When an item is created” trigger.
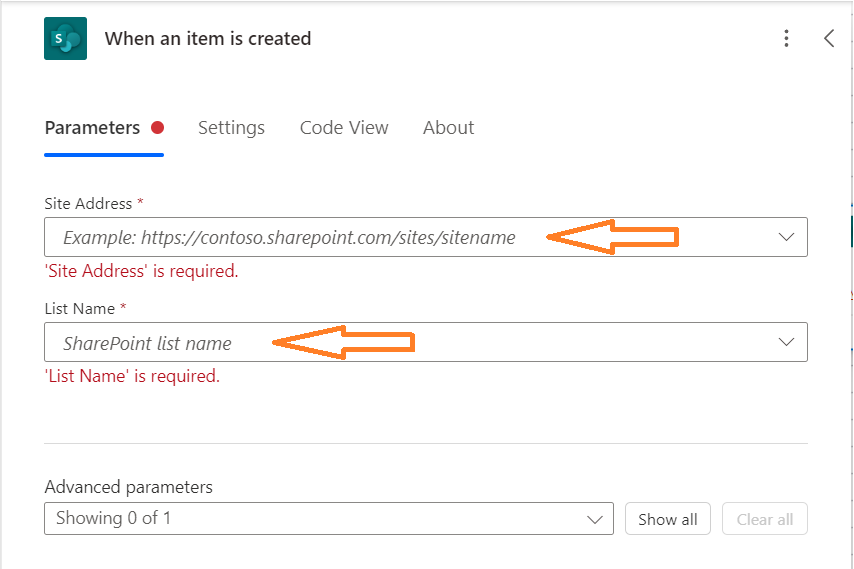
5.Once flow is created, add require parameters into it such as “SharePoint Site Address” “SharePoint List Name” etc.
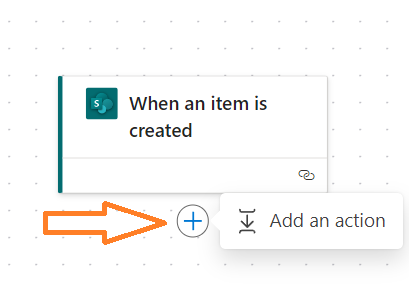
Step 2: Define the Action: The Steps Your Flow Will Take
Actions are the steps your flow takes after it is triggered. We’ll use the “Send an email (V2)” action from Office 365 Outlook.
1. Click on “New step”.
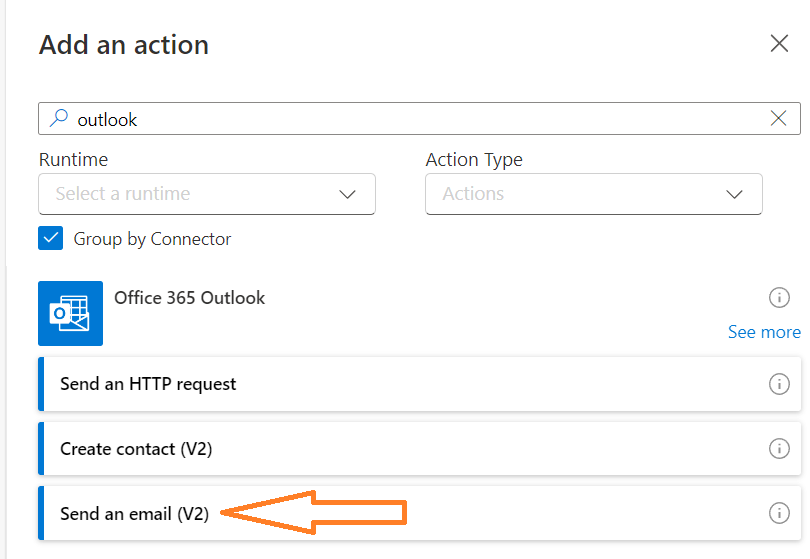
2. Search for “Office 365 Outlook” and select “Send an email (V2)”.
3. Configure the email action by specifying the recipient, subject, and body of the email.

Step 4: Configuring the Email Action: Customizing Your Notification Message
1. In the “To” field, enter the email address of the recipient.
2. Use dynamic content to personalize the email subject and body. For example, include the title and details of the new item from the SharePoint list.
What is Dynamic Content?
Dynamic content is the data that Power Automate retrieves from triggers and actions. When you create a flow, each step can produce data that might be useful in later steps. For example, if your flow starts with a trigger like “When a new email arrives,” the dynamic content can include the email’s subject, body, sender, and more.

3. Customize the email to make it informative and relevant.
Step 5: Save and Test Your Flow: Ensuring Everything Works Smoothly
1. Click “Save” to save your flow.

2. Test your flow by creating a new item in your SharePoint list.
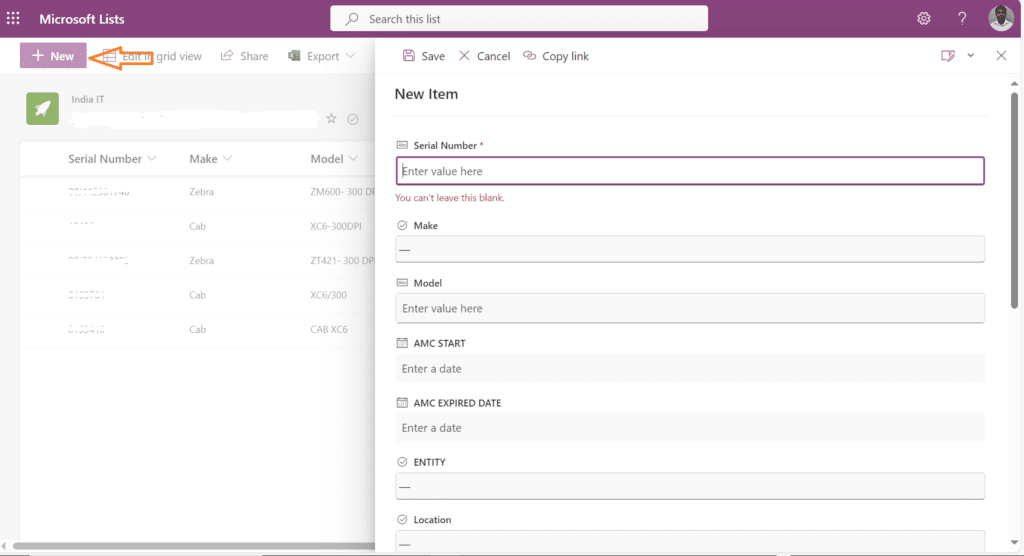
3. Check if the email notification gets sent successfully
Step 6: Activating the Flow: Making Your Automation Live
1. Once tested, activate your flow.
2. Ensure your flow is turned on and running smoothly.

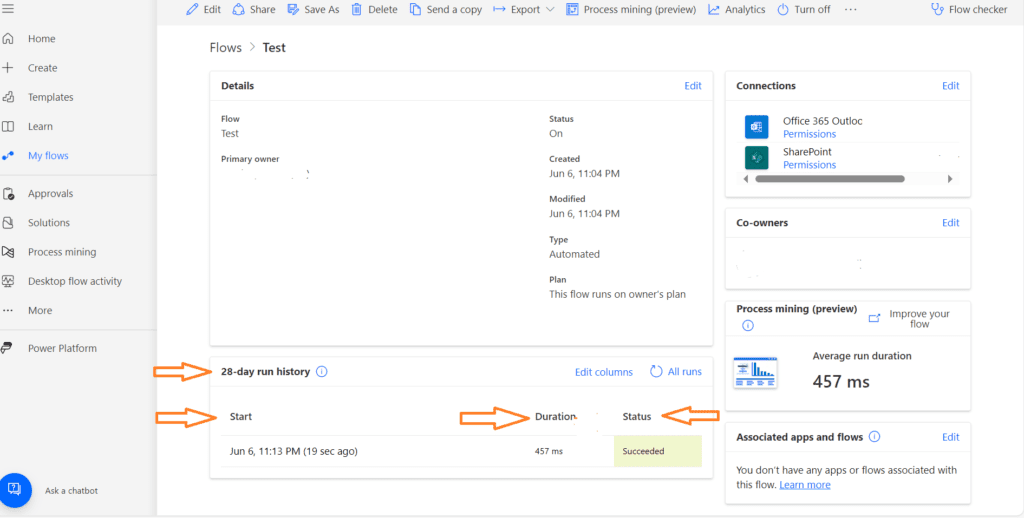
3. Regularly monitor your flow to ensure it works as expected.
This area allows you to monitor the performance and status of your flows. You can check if they are running successfully, review any errors, and get detailed analytics about their performance.
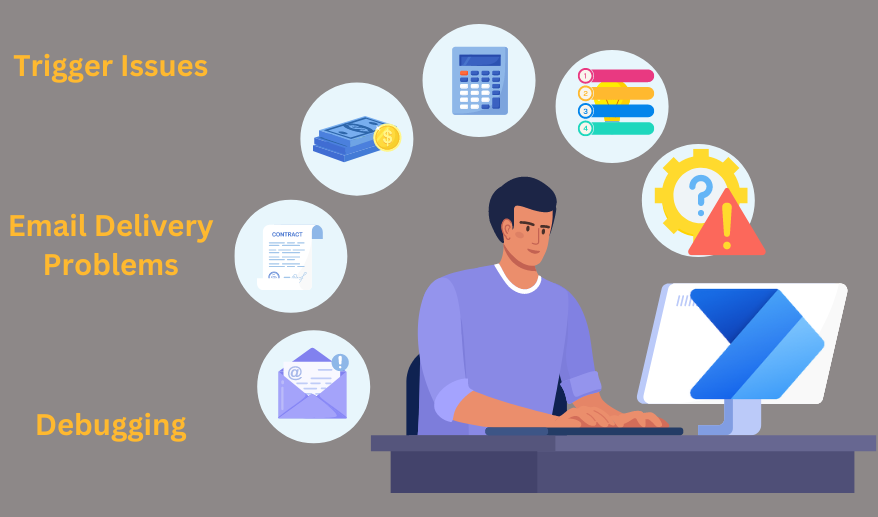
Common Problems and Solutions: Overcoming Potential Challenges
Trigger Issues: Ensure you configure your SharePoint list and flow trigger correctly. If you want learn more about Power Automate Triggers visit Automate the Routine Workflow
Email Delivery Problems: Check email addresses and ensure there are no typos.
Debugging: Use the Power Automate flow checker to identify and resolve errors.
Key Takeaways from Your First Power Automate Flow
I have covered how to create a simple automated email notification flow using Power Automate. This guide should help you understand the basics and get started with your own flows.
Encouragement to Explore: Dive Deeper into Power Automate’s Capabilities
Don’t stop here! Explore more advanced features of Power Automate to automate other tasks and workflows. The possibilities are endless.
Share Your Experience and Join the Conversation
I would love to hear about your experiences with Power Automate. Share your stories, ask questions, or suggest topics for future posts in the comments section below.
Your Guide to Power Automate: A Brief Introduction
As a seasoned Power Automate enthusiast, I’m passionate about helping others unlock the full potential of automation. With 10 years of experience in designing and implementing workflows, I’m here to guide you on your journey to becoming a Power Automate pro.

